Brinell - Hardness Test
The Swedish engineer Johan August Brinell lived from 1849 to 1925. During his professional career, he researched alternatives to measure the surface hardness of materials. His original intention was to find a method that was less time-consuming and didn't waste material due to destructive testing.
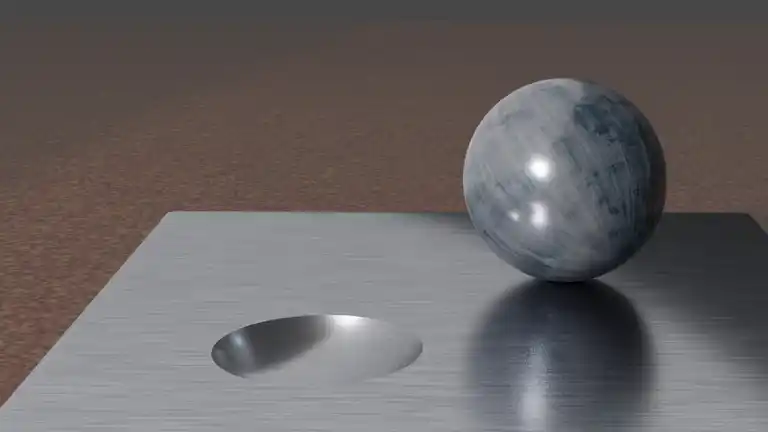
In 1900, Brinell made his breakthrough and developed hardness testing by using a ball indentation test. In the same year of discovery, he presented this method at the World Exhibition in Paris. This test method has since been known as the Brinell hardness test method. Today this method is used to determine the hardness of materials with heterogeneous structures, soft to medium-hard metals or other materials.
The procedure
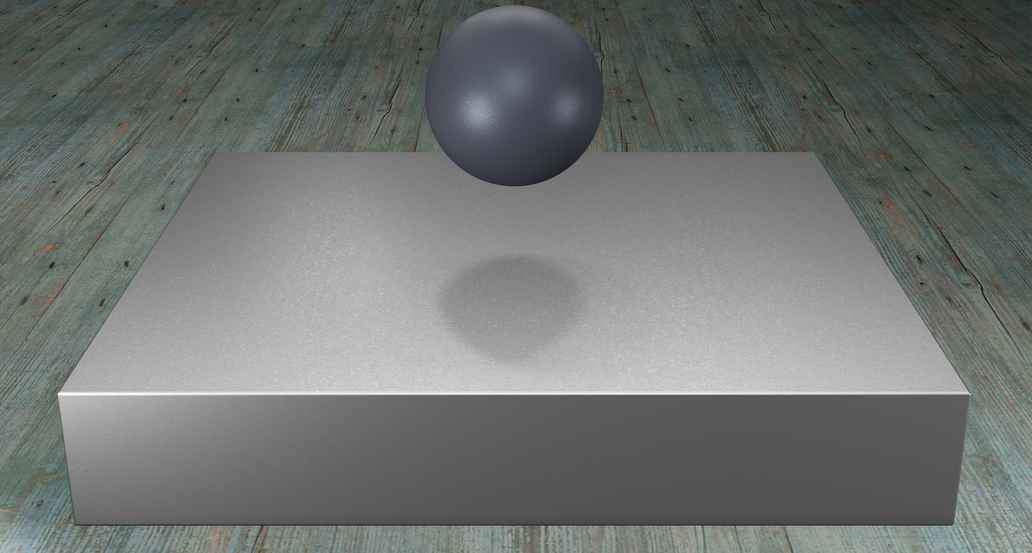
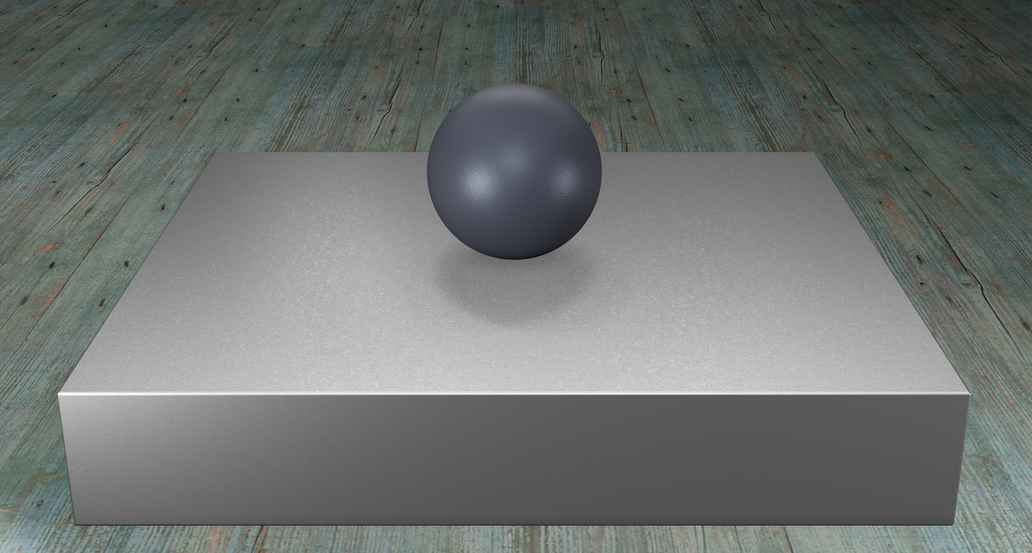
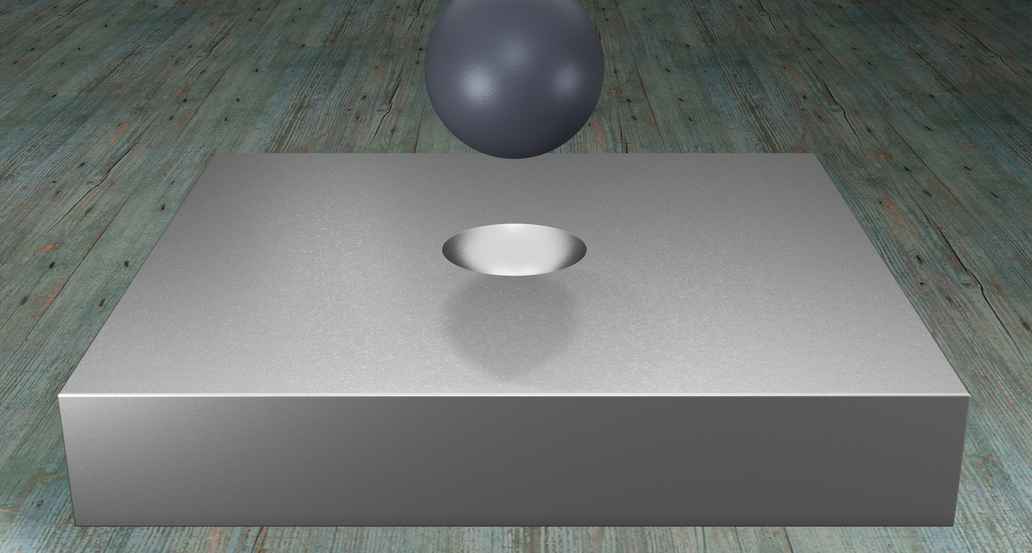
In the Brinell hardness test, a test ball made of sintered carbide is pressed onto the material and the impression is then evaluated. Originally, test balls made of hard metal or hardened steel were used. However, since 2006 these are no longer allowed. Since then only balls made of hard metal have been used for hardness testing. The diameter of the test ball is 10 mm, 5 mm, 2.5 mm, 2 mm or even 1 mm. Which ball is used is determined by the thickness of the material that is to be tested. The regular time of pressing is 10 to 15 seconds, depending on the type of material. For very soft materials, the exposure time can also be increased to up to 30 seconds.
In the Brinell hardness test, care is required to ensure that the surface of the material to be tested is smooth, flat and free of impurities. Furthermore, attention must also be paid to the shock-free and vertical penetration of the test ball.
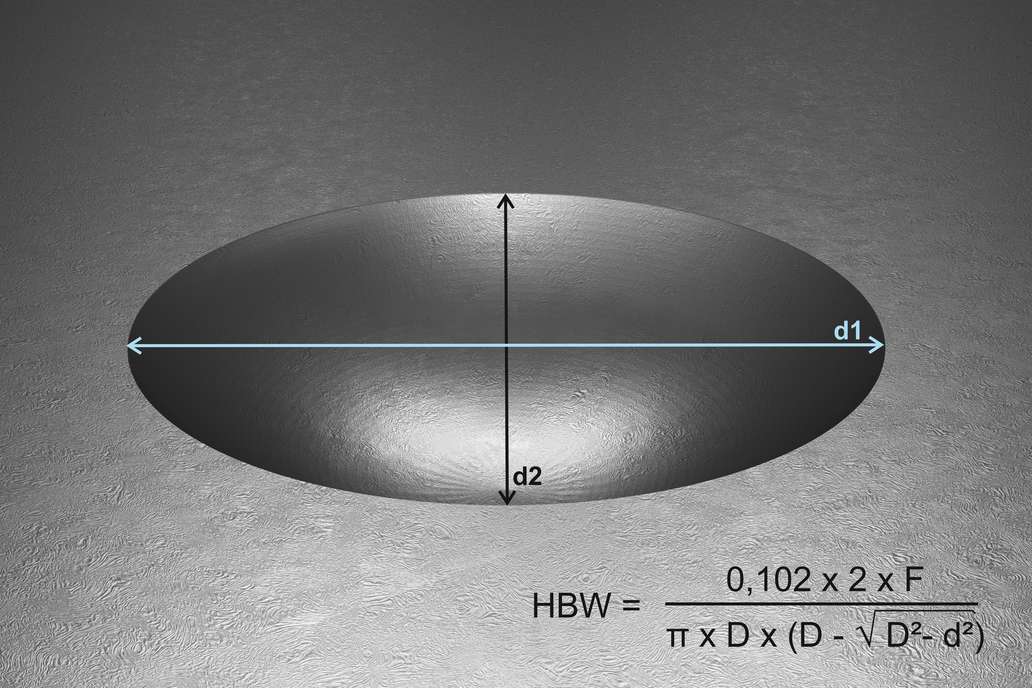
After the compressive load, the vertical and horizontal diameter of the resulting impression is measured. From these two values the average value is determined and this diameter is used in the corresponding calculation of the Brinell hardness. The Brinell hardness is measured in HBW, short for Hardness Brinell Wolframkarbidhartmetall ("Wolframkarbidhartmetall" is German for Tunsten Carbide).
Advantages
Due to the relatively low effort, the Brinell hardness testing method is simple and can be applied even under rather poor conditions.
Relatively high test loads can be applied. For this purpose, simply designed but robust devices are available.
Using simple microscopes or magnifying glasses, the imprint made in the test material can be evaluated.
The small dent in the surface is the only imperfection produced during testing.
Disadvantages
As already described, the surface to be tested must be very clean and free from imperfections. This requires some preparation. This also means that Brinell testing is not always a quick procedure. As a result, this method is also not suitable for materials testing in series.
The method is not or only limited applicable for small or thin workpieces or even very hard materials. Due to the optical determination the danger of incorrect measurements can occur. This can be considerably reduced by automatic processing of the images by computer.
See also
Coil
Plate metal that is rolled-up to coils is easier to transport and requires less space in the warehouse
Read moreCorrosion
Corrosion is a natural process and damages most metals. What types of corrosion are there?
Read moreHistory of Metal Processing
Thousands of years ago, man began to work with gold - today we work with high-strength steels.
Read more