Rockwell Hardness Test
In the Rockwell hardness test, the hardness of a material is determined by pressing an indenter into the material with a predefined force. The hardness of the material can be determined by measuring the penetration depth.
History
The hardness test method was named after its developers, Stanley P. Rockwell and Hugh M. Rockwell, who worked as metallurgists at Departure Manufacturing Company from 1914, looking for a simple and fast method for testing the hardness of bearing rings.
At the beginning of the 20th century there were various methods for determining the hardness of a material but these methods were either very time-consuming (Brinell hardness testing), complicated or not suitable for harder materials.
The development of the first testing device took almost 5 years and was patented in February 1919. Stanley P. Rockwell moved to another employer in the same year and patented a second, improved tester in September 1919.
The true potential of the device was discovered by Charles H. Wilson. He further developed it and made some important changes. He introduced the diamond cone as another indenter and increased the maximum test load from 100 to 150 kg.
He also organised the manufacture and distribution of the instrument, which led to the rapid spread of Rockwell hardness testing.
Test specimen
Many different test methods were developed for the Rockwell hardness test, which could be adapted to different materials by selecting the correct indenter and force application. For the tested material the prescribed indenter must be selected before the test. In the Rockwell measuring method there are these three indenters in total:
- Ball with a diameter of 1/16 inch ( ≈ 1.6 mm)
- Ball with 1/8 inch diameter ( ≈ 3.2 mm)
- Diamond cone with a point angle of 120° with a spherical calotte of 0.2 mm
The test forces to be used must also be matched to the material to be tested. In order to simplify the hardness test, several standardized test methods have been developed.
Hardness test procedure
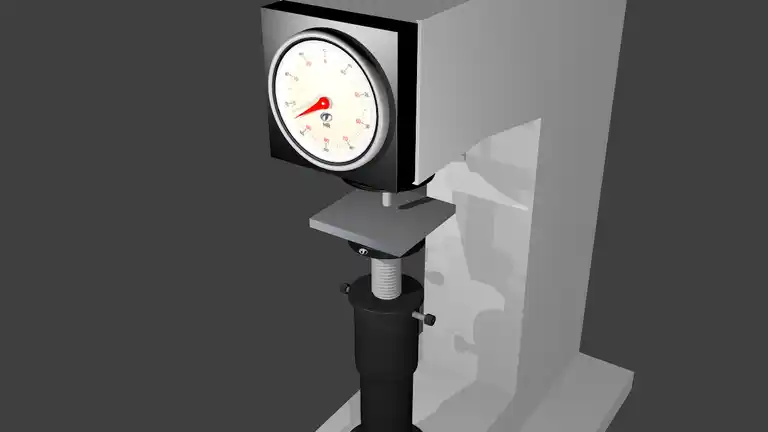
When all preparations have been made, the actual test can begin. This is done by bringing the material sample up to the indenter until the preload is reached. Since the measured variable is the penetration depth, the depth gauge must be set to 0 after the preload is reached.
Then the indenter is pressed into the material with the corresponding additional force. The duration of the force effect depends on whether the material flows plastically or not in a time-dependent manner. The correct load duration can also be read off in tables. In most cases the test force is maintained for 2 to 8 seconds.
After this period of time, the additional force is removed until the value of the pre-load is reached again. In this way inaccuracies can be eliminated which may be due to plastic deformation of the device. The Rockwell hardness can now be read on the dial gauge.
Advantages
- The measurement procedure is quick and very easy to perform.
- Hardness can be read off directly.
- Also usable for very hard materials.
- Minimal damage to material samples.
- Automated testing is possible.
Drawbacks
- Rates of error increase for thin materials in particular due to the low indentation depth.
- Large number of discrete test methods and variables.
- Not suitable for testing softer materials.
See also
Brinell hardness test
Performing the hardness test by means of a ball pressure test according to the Swedish engineer Johann August Brinell.
Read moreCoil
Plate metal that is rolled-up to coils is easier to transport and requires less space in the warehouse
Read moreCorrosion
Corrosion is a natural process and damages most metals. What types of corrosion are there?
Read more